


A big part of staying healthy in both mind and body is finding the time to relax and leave your stress behind. There are several different ways to do so, but it can be argued that spending some time in a sauna is very high on that list. In most cases, people need to go to a spa to gain access to a sauna, but it is possible to put together a DIY sauna in your own home without too much difficulty. There are even sauna kits available to get you started, but let’s look at a DIY sauna built from scratch.
You will need to start with a space that is framed but stripped down to the bare bones, which means that no drywall has been hung. The wiring is the first thing that needs to be taken care of, which is usually something that should be left in the hands of a professional electrician. If you are going the gas route for your DIY sauna, the same rules apply, as a pro should be used to ensure that everything is safely connected before moving to the next step.
Operating a sauna in your home is not necessarily cheap, but you can save a good deal of money by using the correct insulation, which would be R-11 insulation on interior walls. Since you want the heat to stay in as much as possible, your DIY sauna should include a foil vapor barrier that serves as insulation. If you skip this step, humidity may be come an issue in other parts of your home.
Once you have all of that done, the next step in building your DIY sauna is to add cedar paneling. The wood panels should be placed perpendicular to the joists, with tongue and groove panels being the easiest to work with. Don’t just rely on the tongue and groove holding things in place, though, which means nailing the panels to the joists.
Once the cedar paneling is in place, you can the center and mount the sauna heater on the wall, making sure to leave a space of at least 6 inches between the bottom of the heater and the floor. When the heater has been mounted, you can then think about adding the rocks, although it is always a good idea to thoroughly clean the heater before you take that step. Keep the rocks loosely packed around the heating element, as jamming them in may make the heater think that things are hotter than they really are.
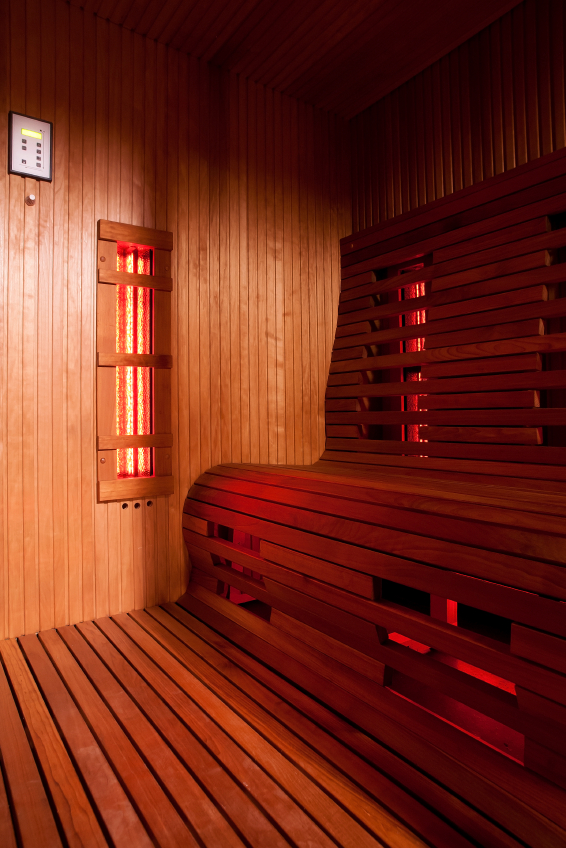
Finally, you will want to add benches and a door to your DIY sauna. These can be as simple as you like, as long as they get the job done. In the case of the benches, some people like to add some lighting to create a little bit of ambience, but that is a feature that is totally optional. Once that is done, you will be ready to reap all the benefits of your DIY sauna.


 Loading...